
Keep purchase bills where they actually belong.
Attach every bill to the product or document record it belongs to — so it stays easy to find whenever you need proof of purchase.


When would you use this?
What usually goes wrong
Paper receipts fade, tear or go missing over time.
Digital bills buried inside email or long chat histories.
Screenshots saved in the gallery without any context.
No link between the bill and the product it belongs to.
Difficult to remember the seller, date or price later.
Multiple bills mixed inside one generic folder.
Practical ways the app supports this
Create the related product or document record first.
Add seller/vendor, date, price and product details you have.
Attach the bill directly to that record so both stay together.
Add notes for anything that might matter later (offer, discount, warranty period).
Search for the product or document to find the bill again.
Keep the bill next to warranty and service information for the same product.
Step by step
A simple flow for adding and organising records.
- 1
Decide where the bill belongs
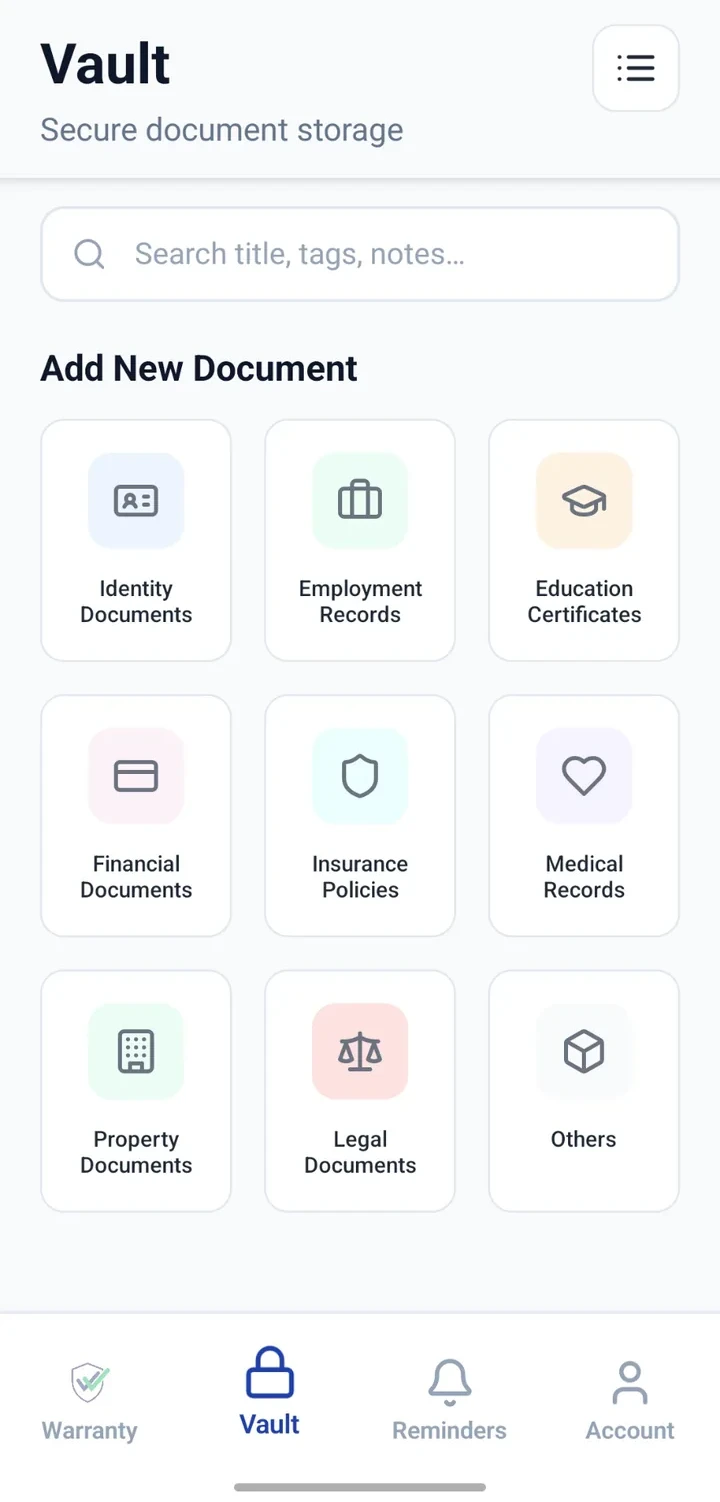
Choose Warranty for a product-related bill or Vault for a general document-related bill.
- 2
Add basic details
Enter product or document details, seller/vendor, date and price where relevant.
- 3
Attach the bill
Attach the bill file — a photo, scan or PDF — to that record.
- 4
Add supporting context
Add short notes so the bill's purpose is clear when you review it later.
- 5
Find it later
Use search, categories or the product list to open the record whenever you need the bill.
Why this matters
Fewer scattered bill photos across the phone gallery.
Purchase context stays with the bill, not separate from it.
Proof of purchase is easier to locate when it matters.
Seller, date and price stay together for future reference.
Warranty and service conversations are easier with organised records.
Household bills stay separated from casual receipts.
A note on scope
Frequently asked questions
Related product pages
See how the underlying modules work in more detail.
Related use cases
Other everyday scenarios covered on this site.
Related guides
Practical guides on these topics are being prepared.
Give every purchase bill a proper place.
Install CheckMyWarranty on Android or iPhone and attach your first bill to a product or document record.
Available now on Android and iPhone.